Getting Started
Install
Select the installation approach that works for you, or download from Github releases. Make sure the binary is available in your local path.
$ go install http://github.com/idpzero/idpzero$ brew tap idpzero/idpzero
$ brew install idpzeroInitialize
Once the binary has been installed you can initalize a new configuration directory by running the init command. Generally this is only done once per application, and the configuration directory added to source control.
NOTE
The generate .idpzero directory has been designed to work nicely with source control. It is recommended that you run the following initialization command within the root of the repository.
The following includes the --with-sample-config flag which will generate sample client and user configuration to help get started.
# Initialize the .idpzero folder to current directory.
# Add --help flag for more options.
idpzero init --with-sample-config# Initialize the .idpzero folder to current directory.
# Add --help flag for more options.
idpzero.exe init --with-sample-configYou should see output similar to the below

WARNING
The .idpzero/cache directory should be added to your .gitignore
If you explore the .idpzero directory that has been created, you will see a server.yaml file which contains the configuration.
Start the IDP
Starting the IDP is as simple as running the serve command within the CLI. The default port that the server will be served on is 4379 unless overriden within the .idpzero configuration directory.
NOTE
By default idpzero will auto discover the closest .idpzero configuration folder by walking up the directory tree from the current location. See --help for additional options.
# Start idpzero using configuration discovery
# Add --help flag for more options.
idpzero serve# Start idpzero using configuration discovery
# Add --help flag for more options.
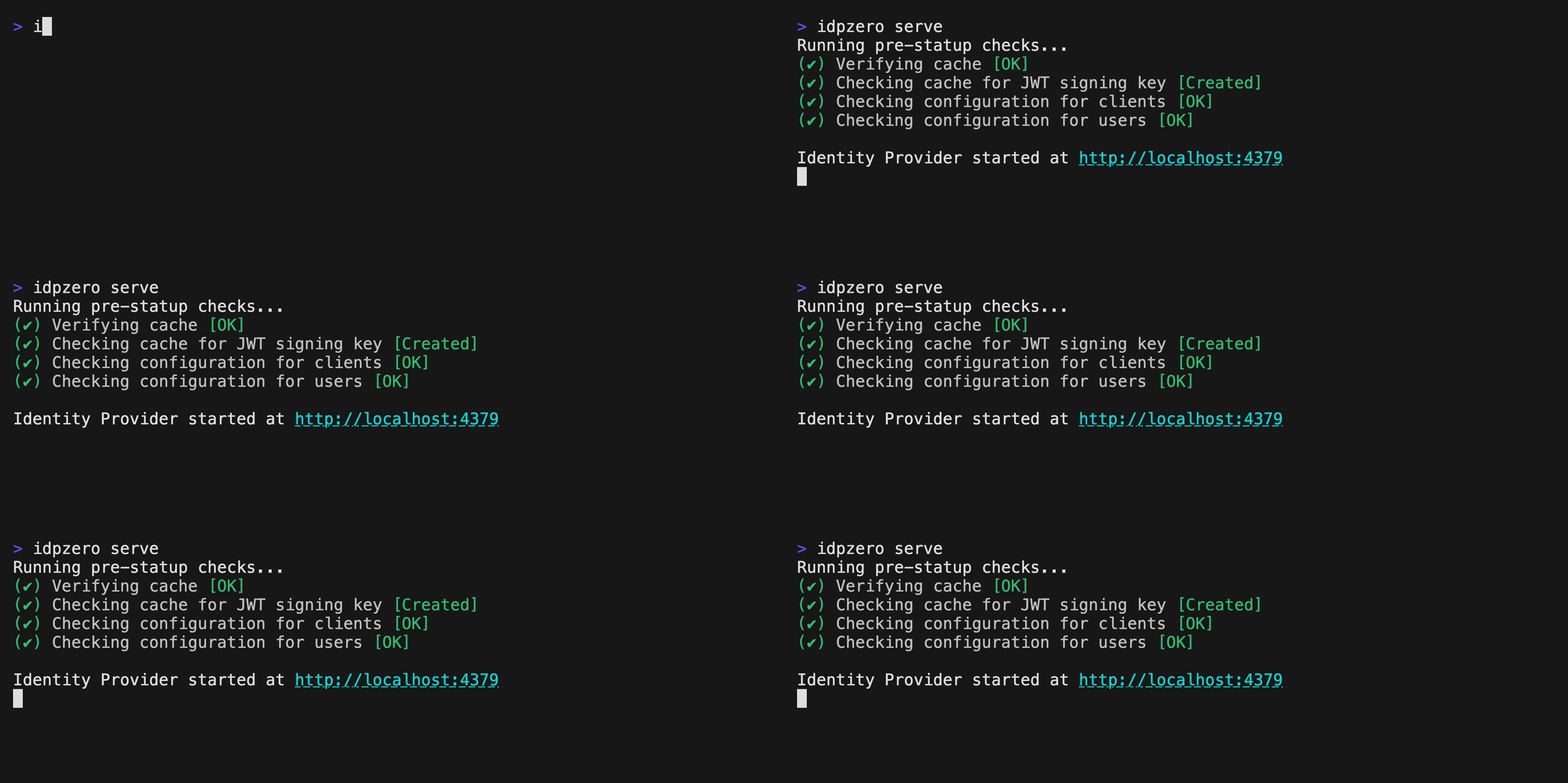
idpzero.exe serveAs part of the startup, various checks will be executed, and you will see output similar to below.

You can shut down server by simply ending the running command.
Thats it, your ready to go!
View Configuration
Once running, open the dashboard (default is http://localhost:4379/) where configuration for the server including metadata endpoints to add to your application, as well as configured client information can be viewed.
If client secrets are applicable for the application, these will be available here to copy.
